Part 3 of this series will take you through the process of creating an environment on AWS to deploy our AWS Lambda Function.
Table of Contents:
- Part 1 - The Code
- Part 2 - The Build
- Part 3 - The Deploy
Before We Deploy
Before deploying our code, we need to create a DynamoDB table, and create the Lambda Function using the AWS Console. We also need to create a IAM Role to allow our Lambda Function to communicate with DynamoDB. When working with AWS Services, make sure you are using the same region as they are not all global services.
This post is going to be image heavy as it is easier to show the steps in AWS instead of describing them.
IAM Role
IAM Roles are very important for security on AWS. It is best practice to make roles with the least privilege when deploying any service to AWS.
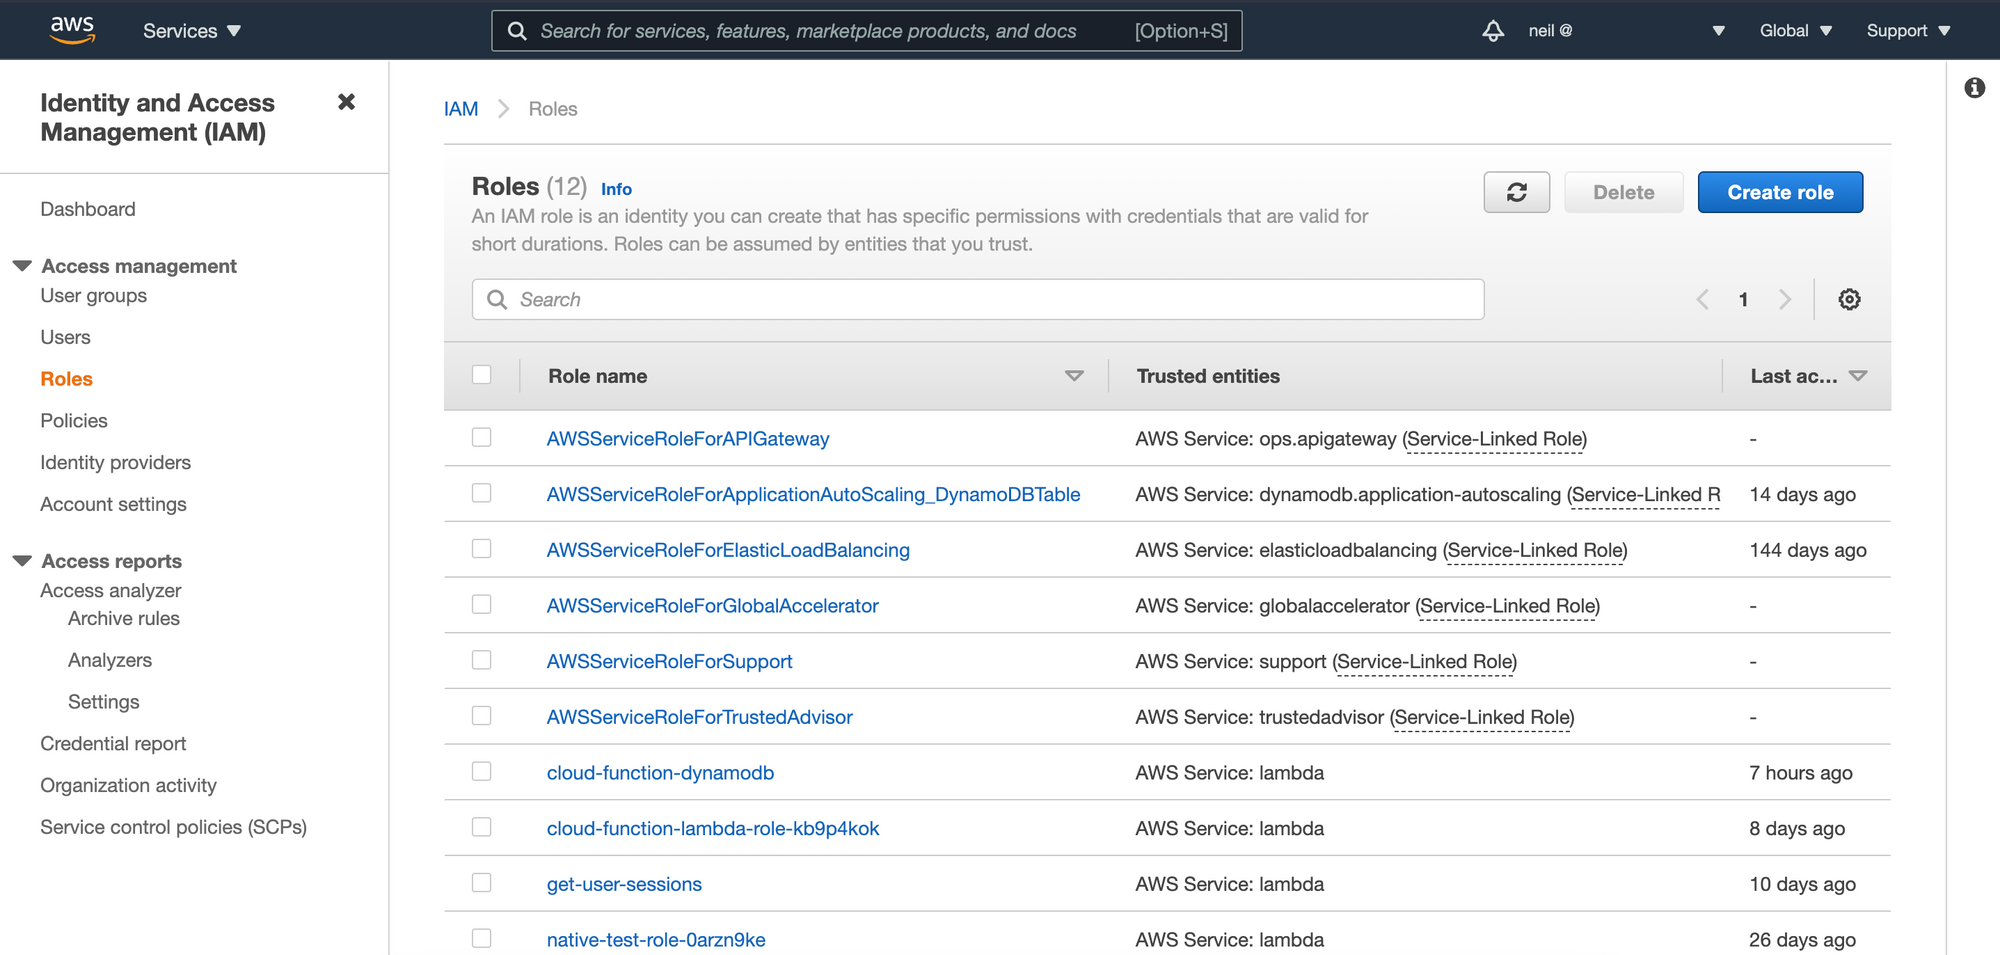
Open the IAM console to create a new Role.
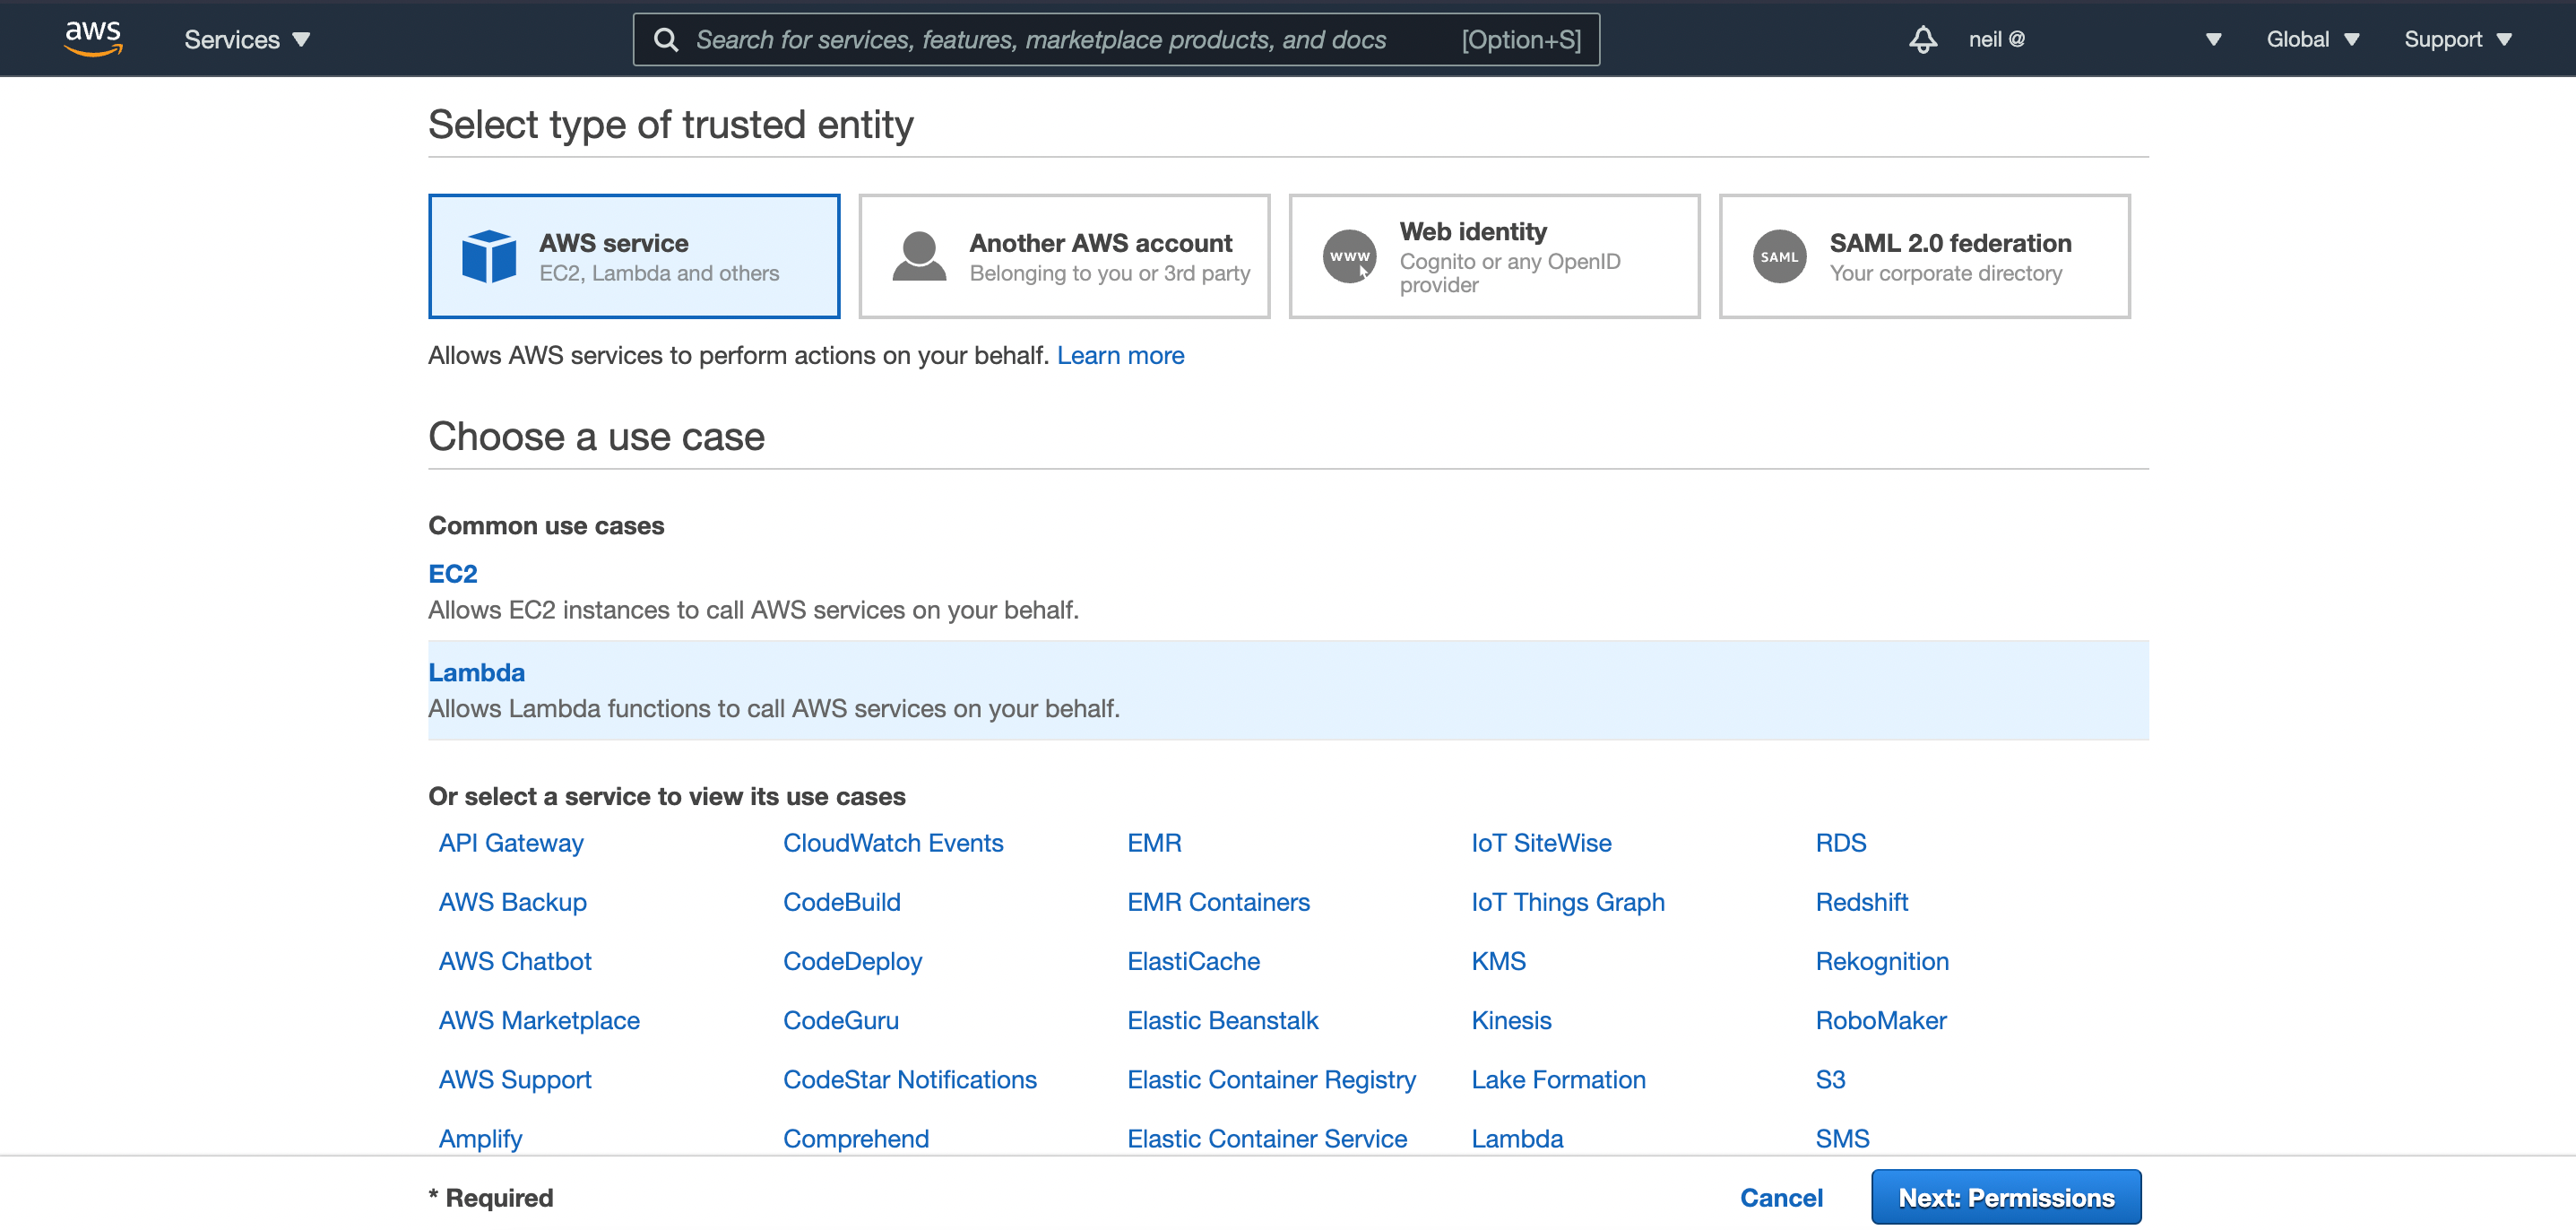
On the permissions page, select:
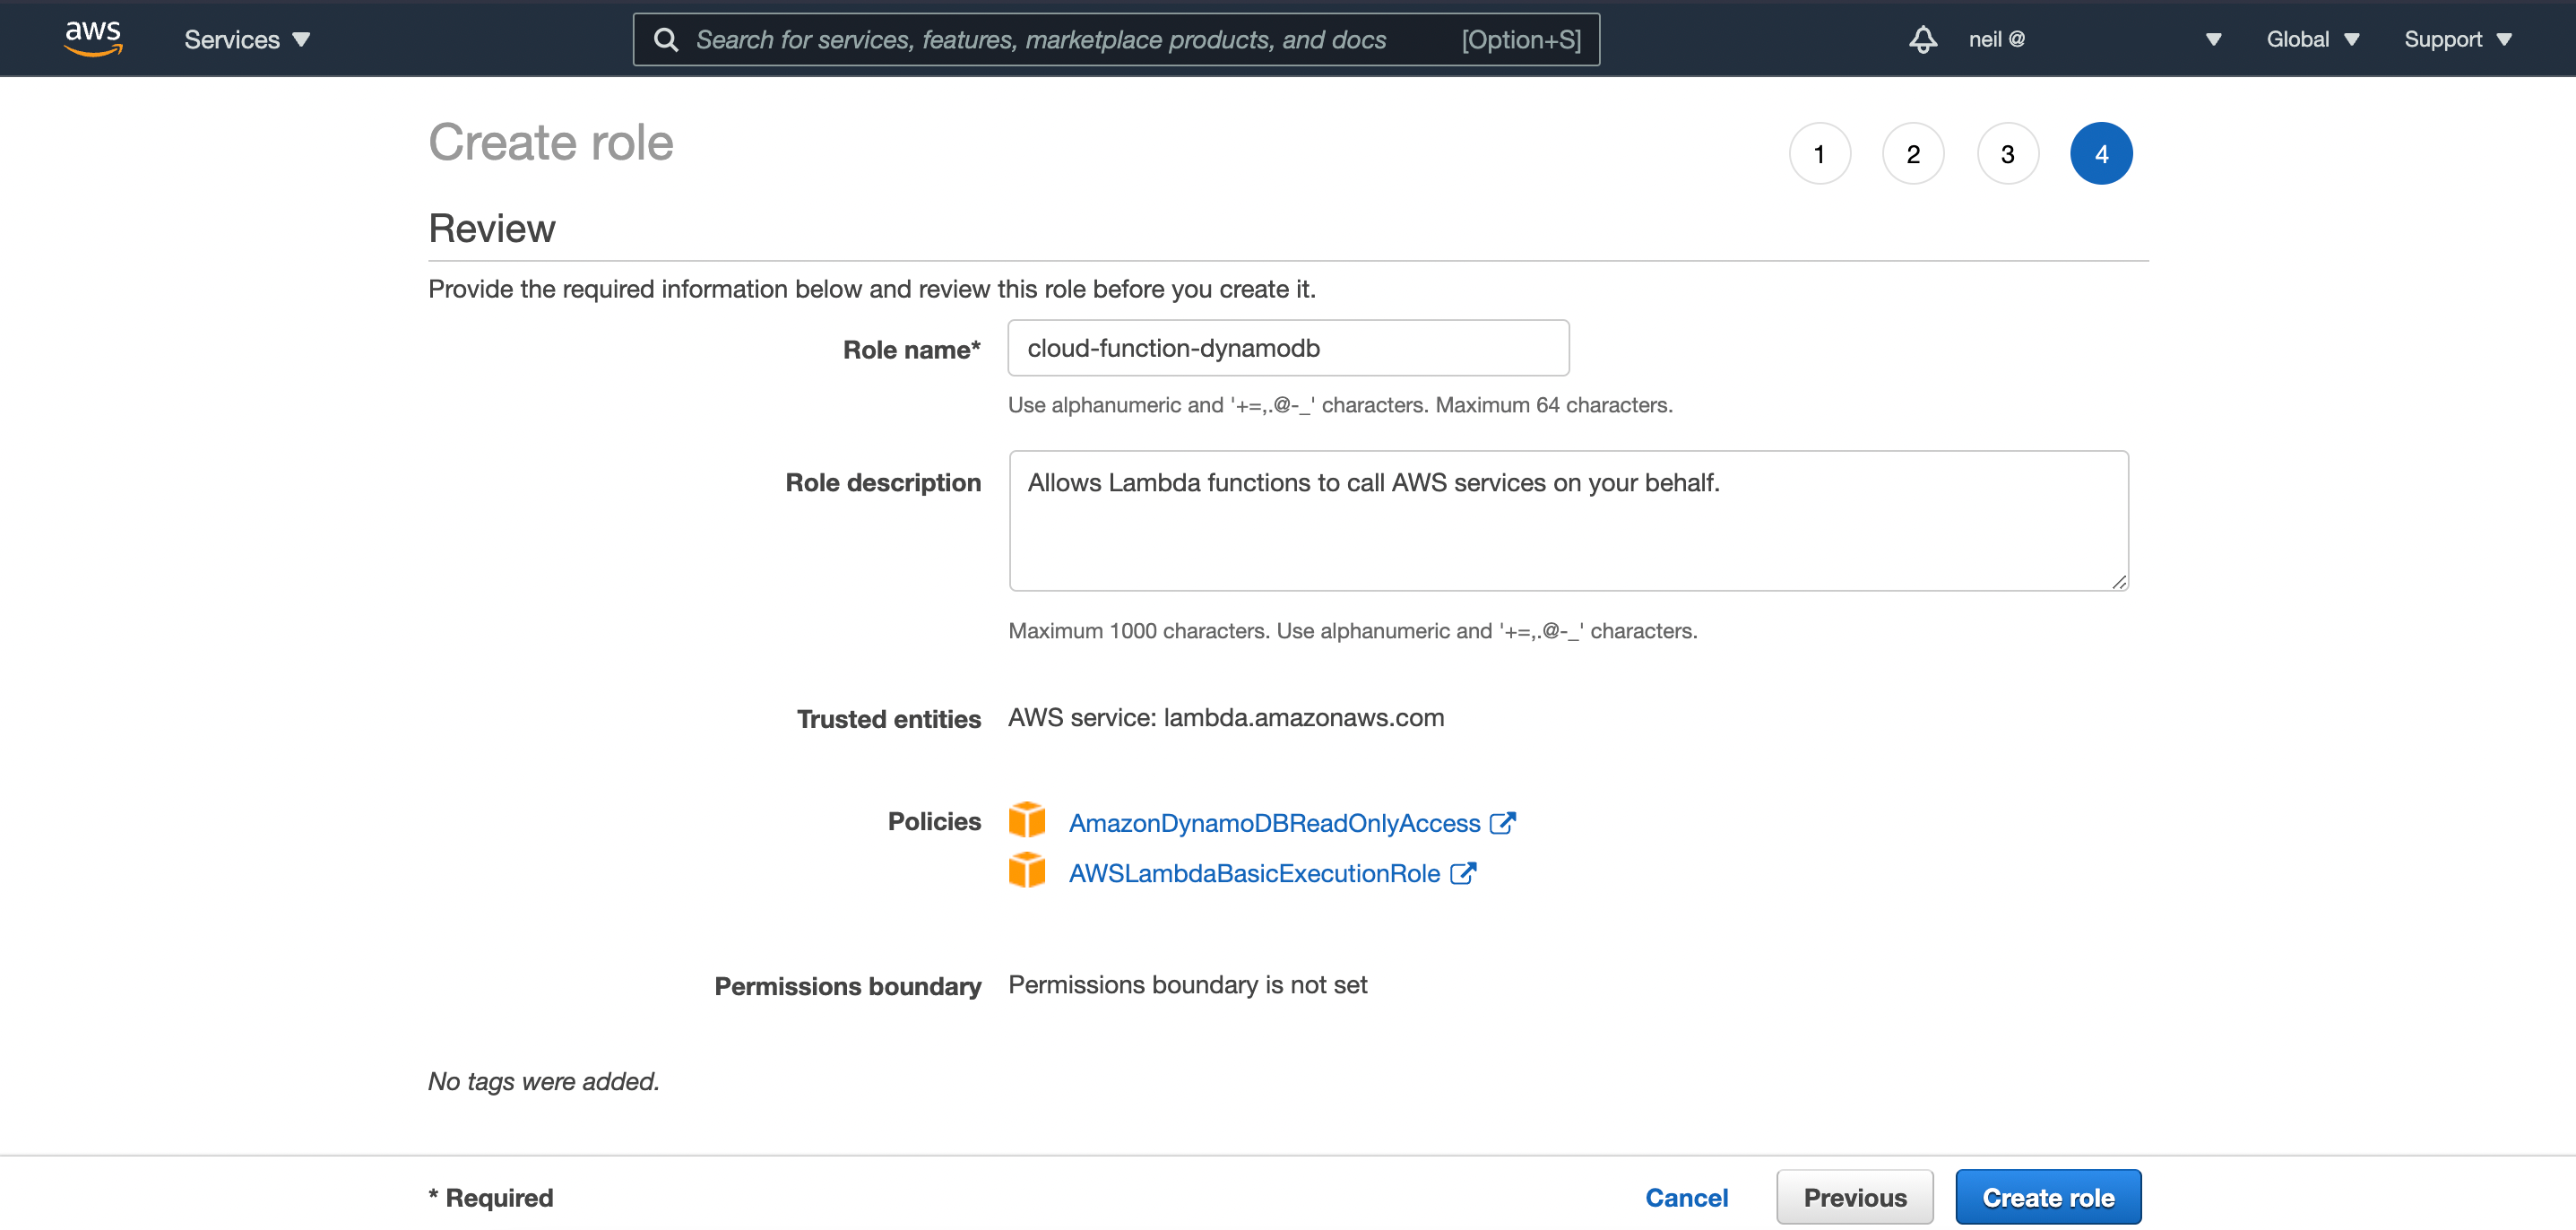
AmazonDynamoDBReadOnlyAccessAWSLambdaBasicExecutionRole
as show in the screenshot below. You can skip adding tags in the step after that.
DynamoDB Table
Head over to the DynamoDB console to create a table.
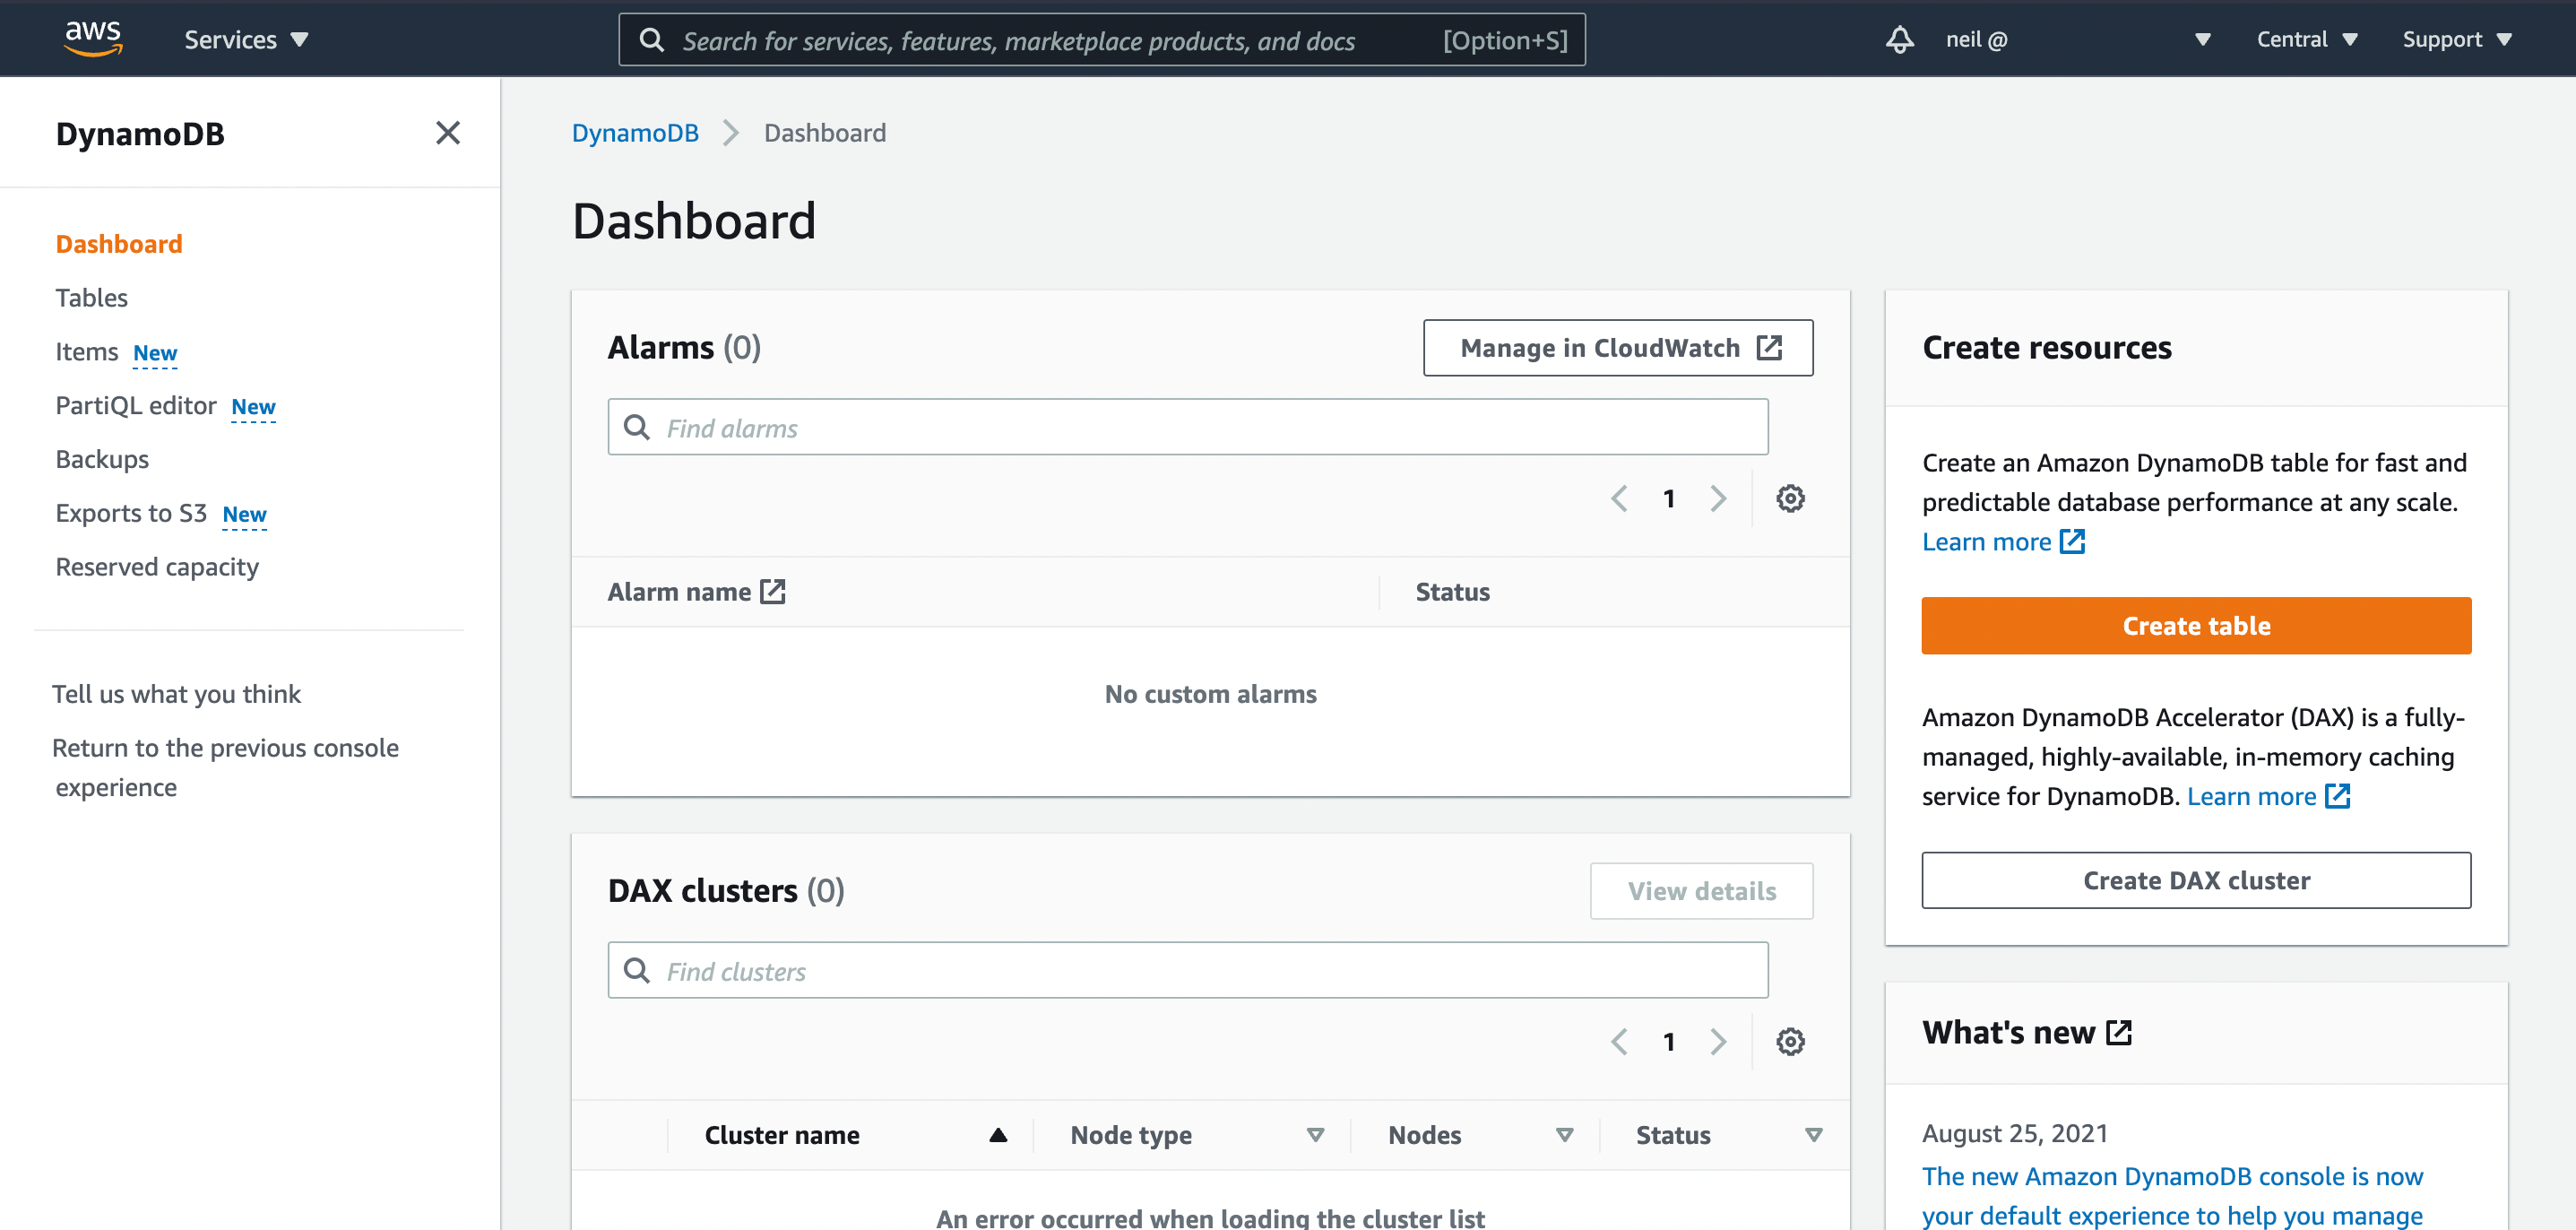
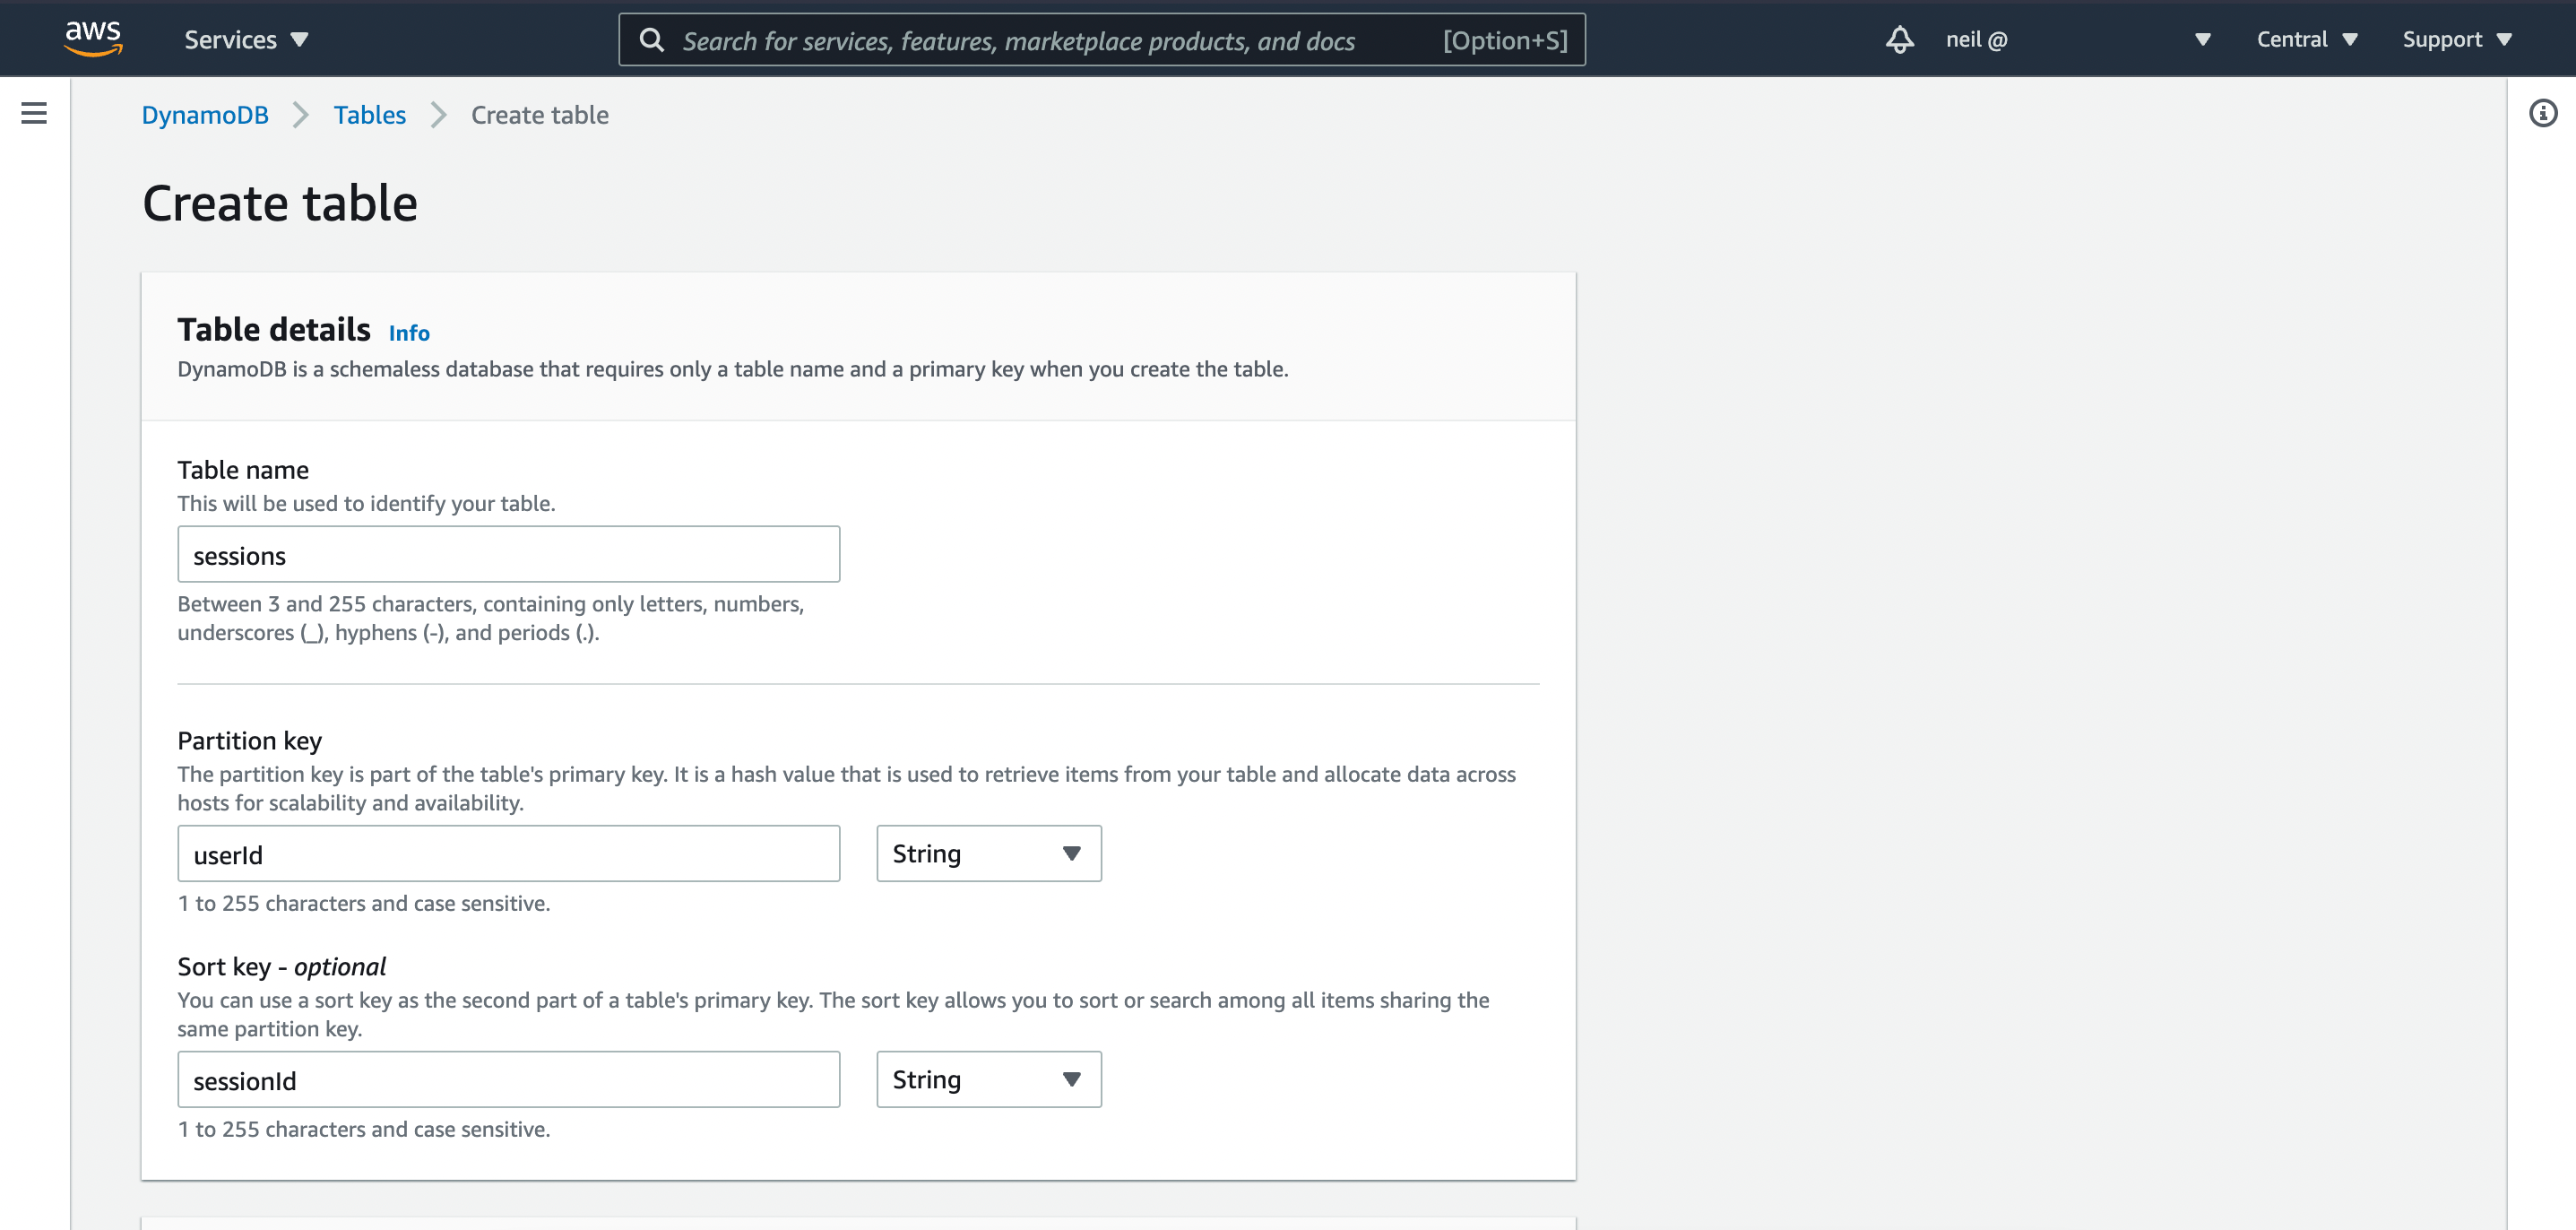
Table creation in DynamoDB is very simple. Provide a table name ('sessions', like we use in our code), a partition (primary key) and a sort key. We do not need to set up our attributes, as DynamoDB is schema-less. Leave the rest of the options as defaults.
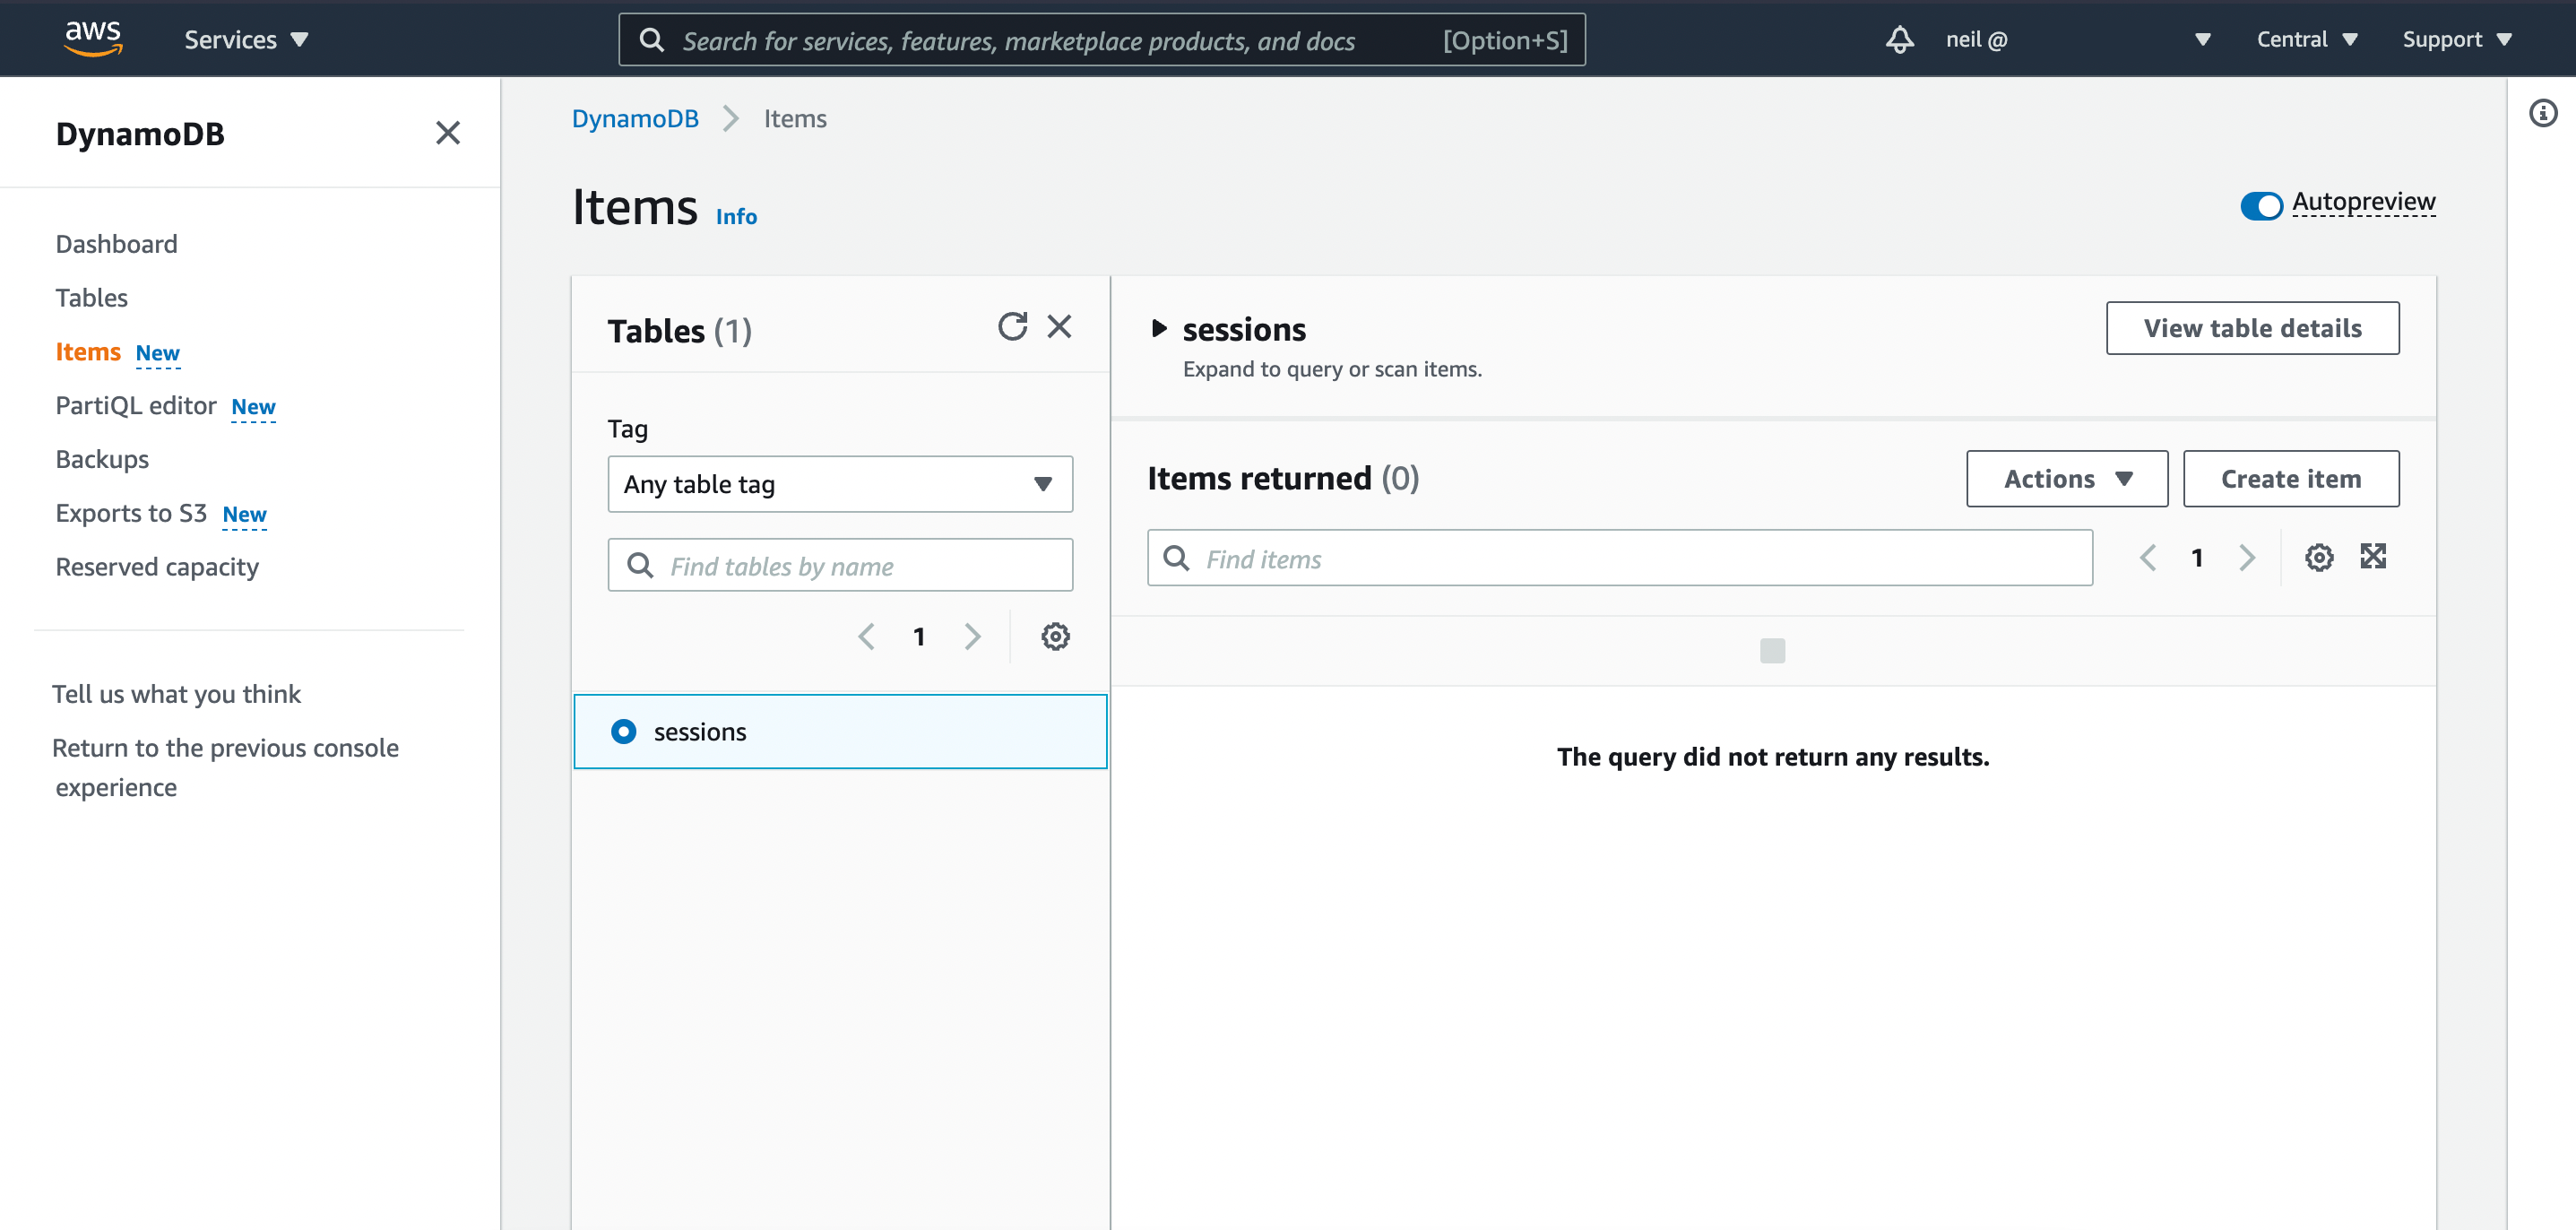
With our new table created, open the Item view and create a new item we will use to test our application later.
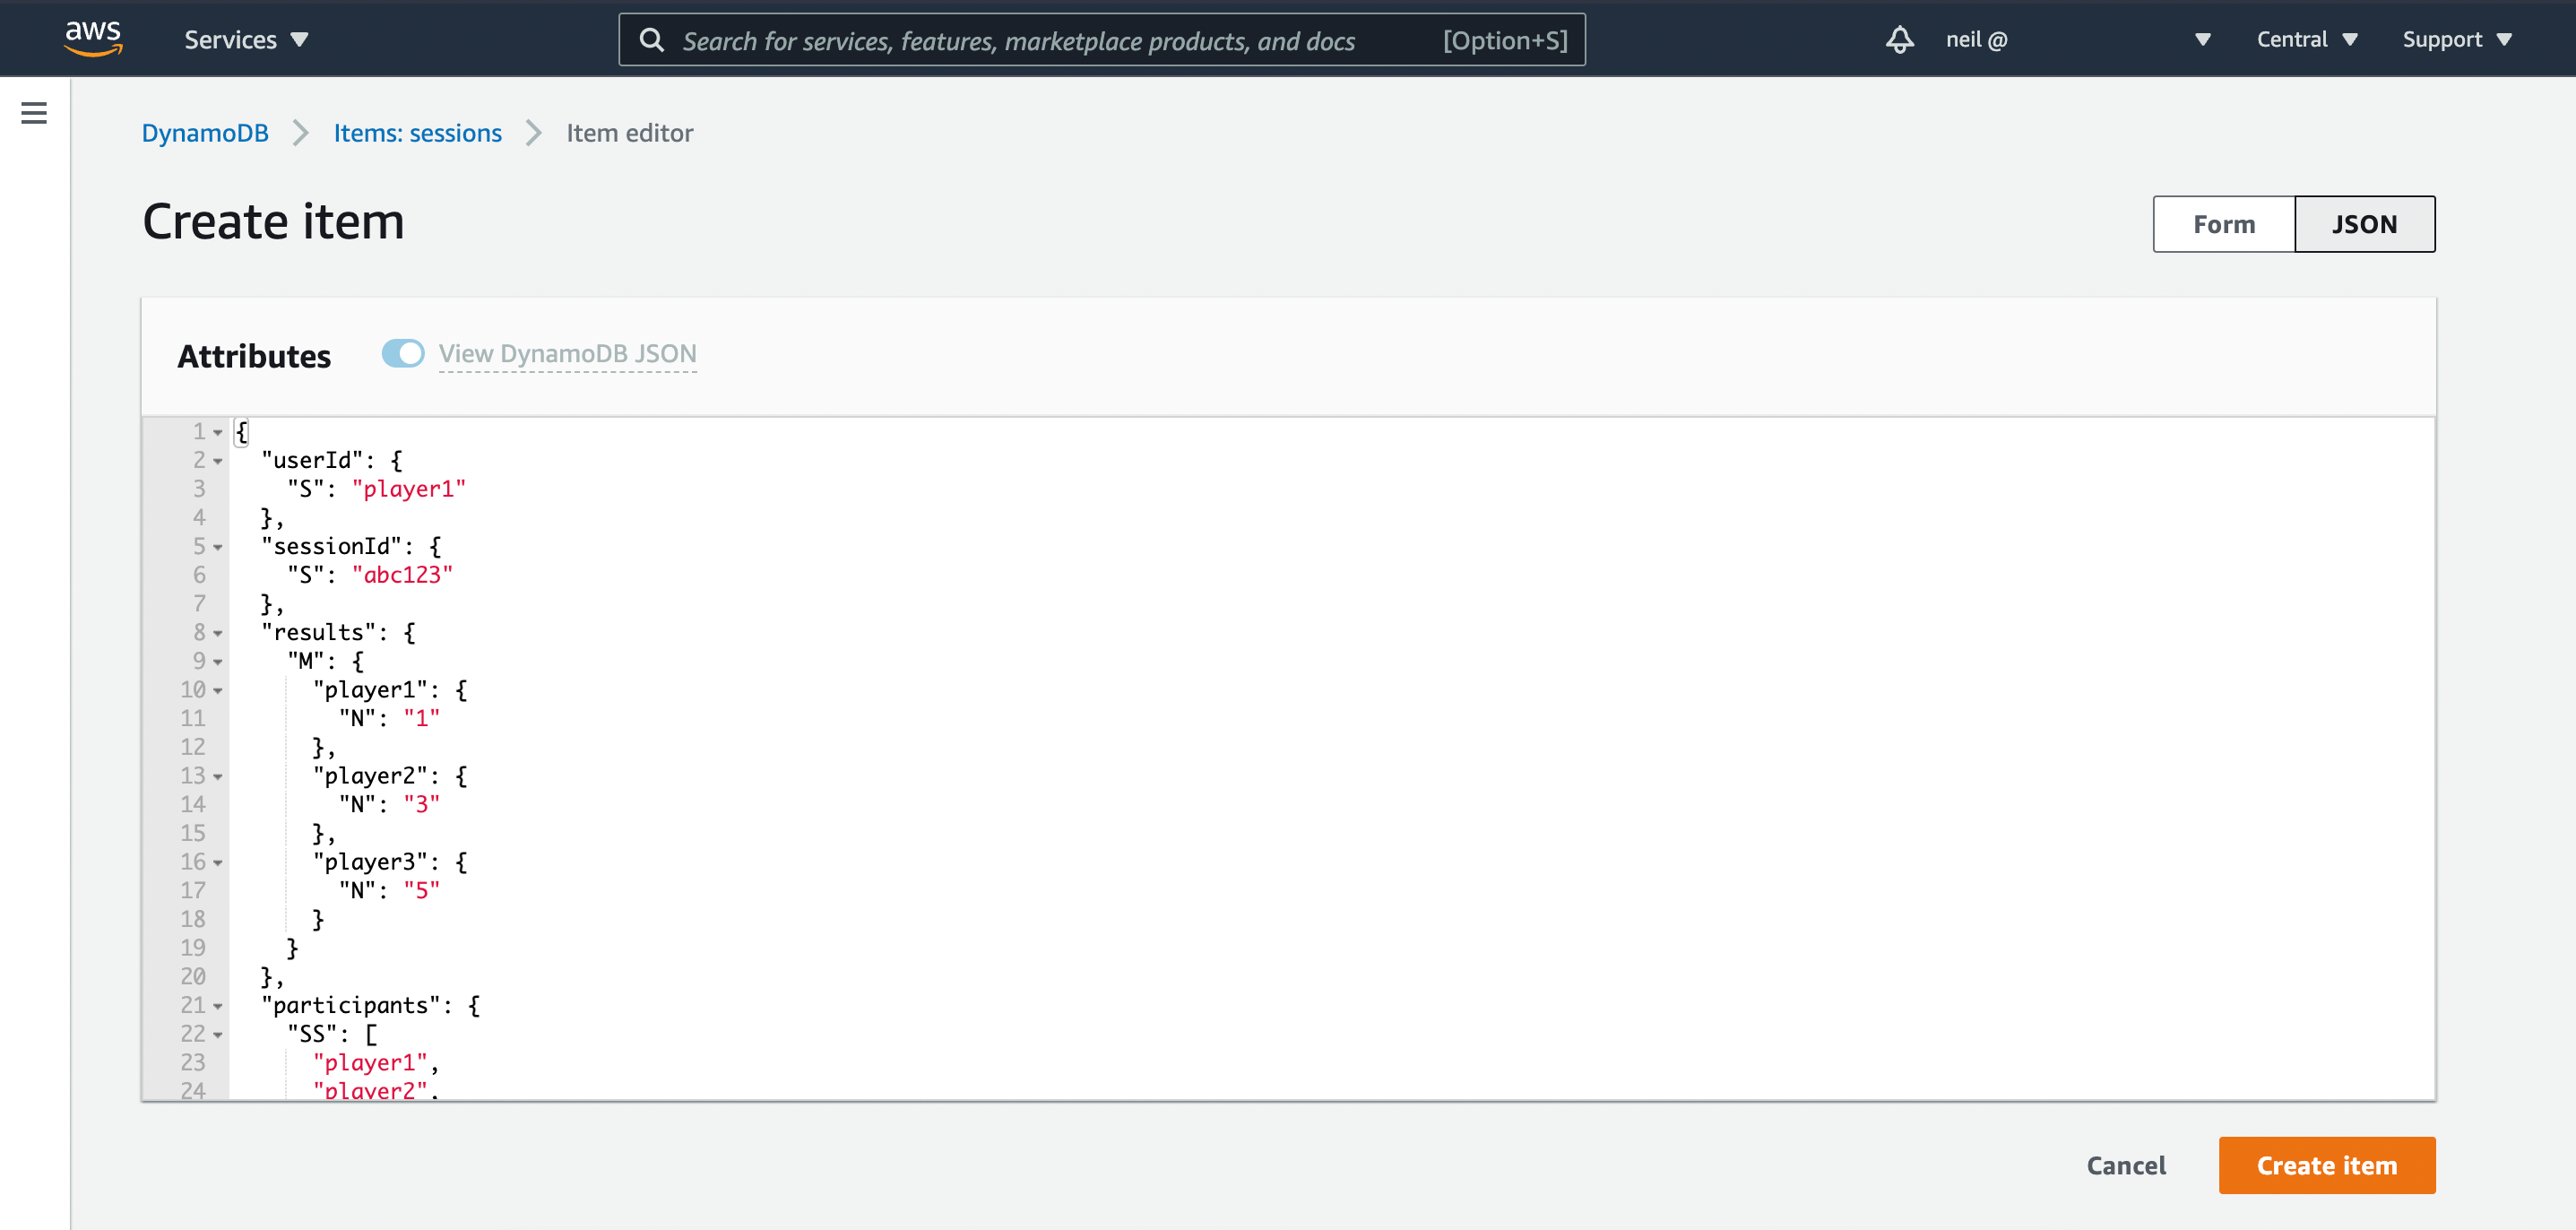
To make things easy, simple copy and paste the following JSON to create the new item:
{
  "userId": {
    "S": "player1"
  },
  "sessionId": {
    "S": "abc123"
  },
  "results": {
    "M": {
      "player1": {
        "N": "1"
      },
      "player2": {
        "N": "3"
      },
      "player3": {
        "N": "5"
      }
    }
  },
  "participants": {
    "SS": [
      "player1",
      "player2",
      "player3"
    ]
  },
  "timestamp": {
    "N": "1632936430"
  }
}Feel free to create extra items, using the above template. Make sure the userId and sessionId fields together are unique, like a compound key in SQL.
Lambda Function
Our code is written and compiled, and we have a DynamoDB table to work with. We are now ready to deploy the code and test everything works.
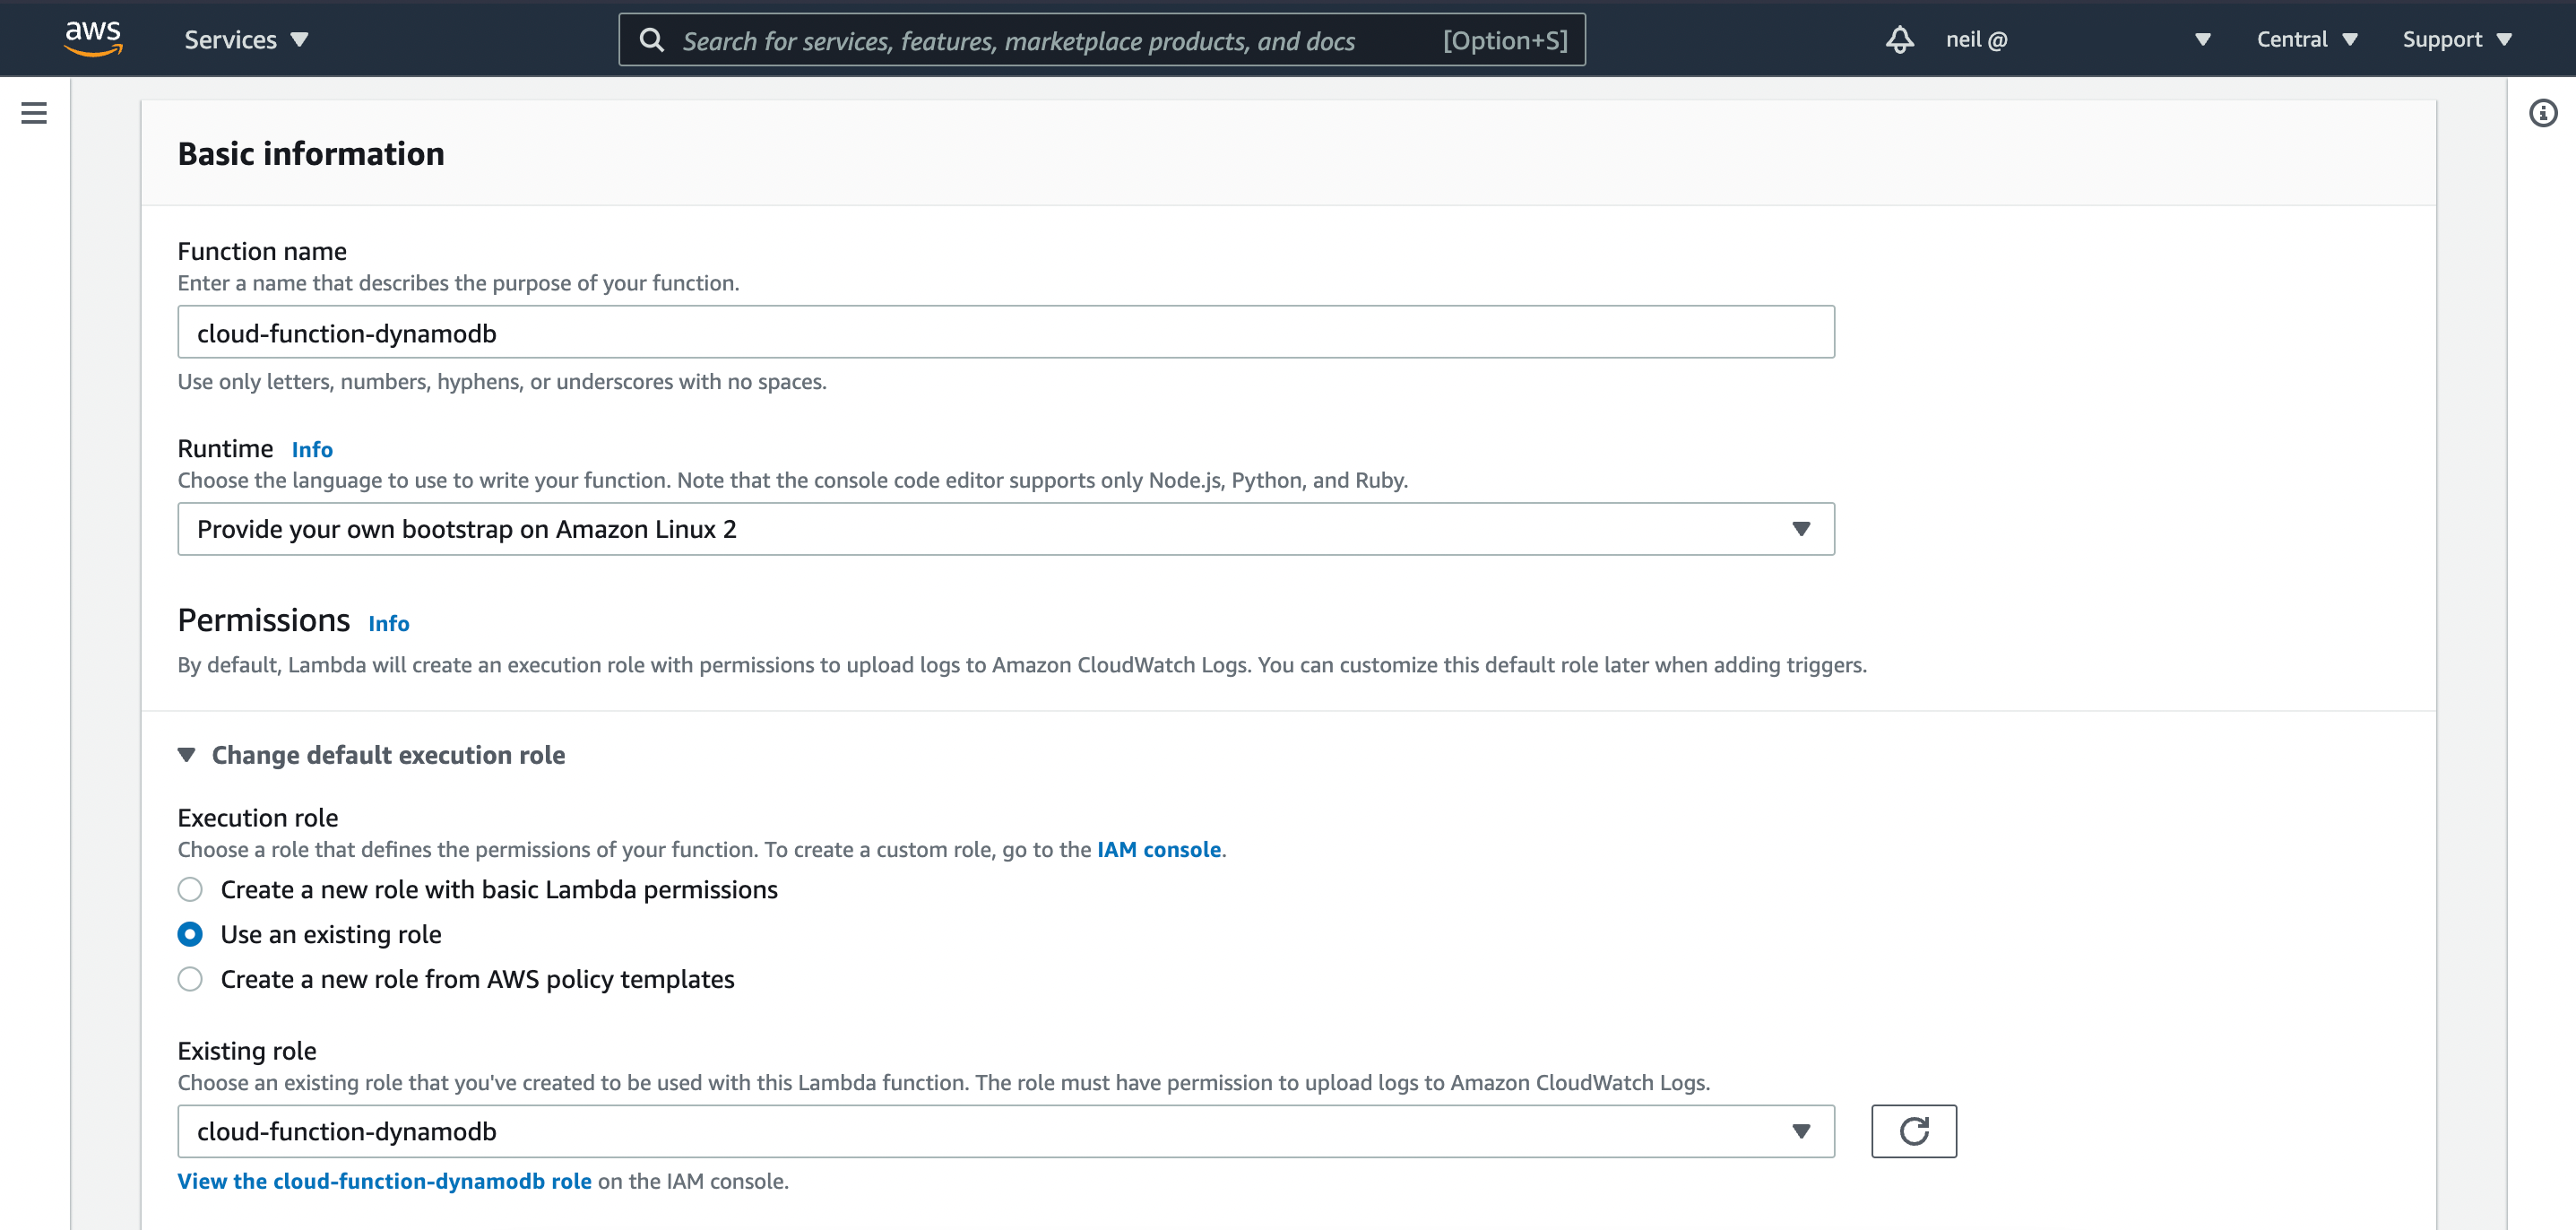
In the same region you created the DynamoDB Table, open the Lambda console and create a new Function.
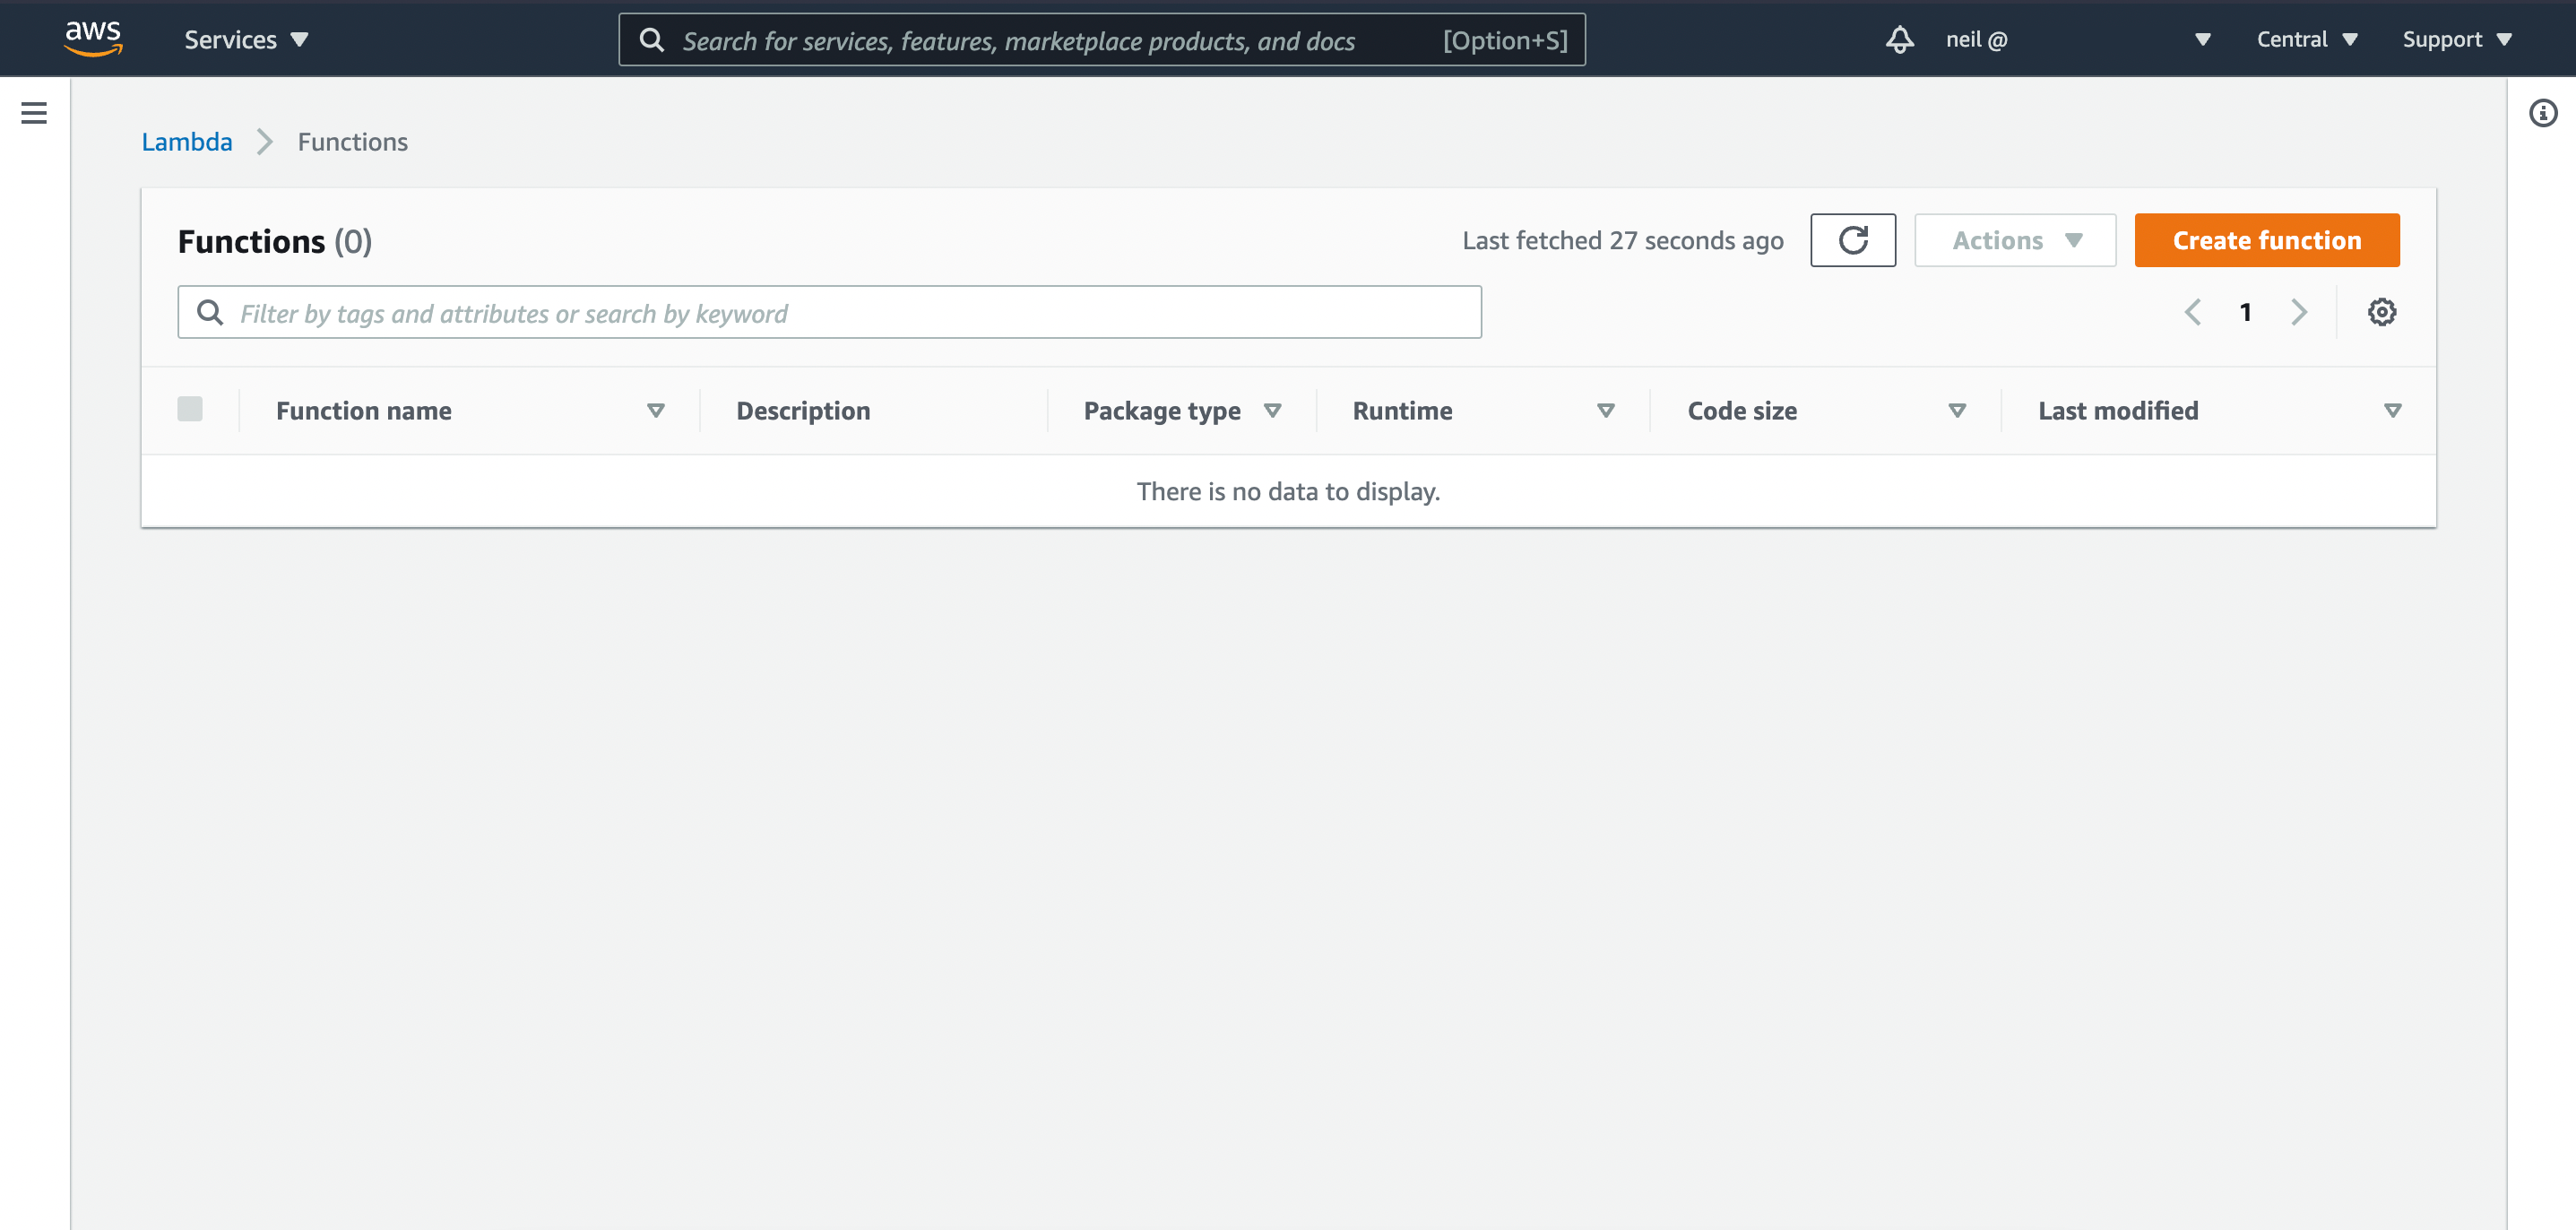
For the Function, keep the default 'Author from scratch'.
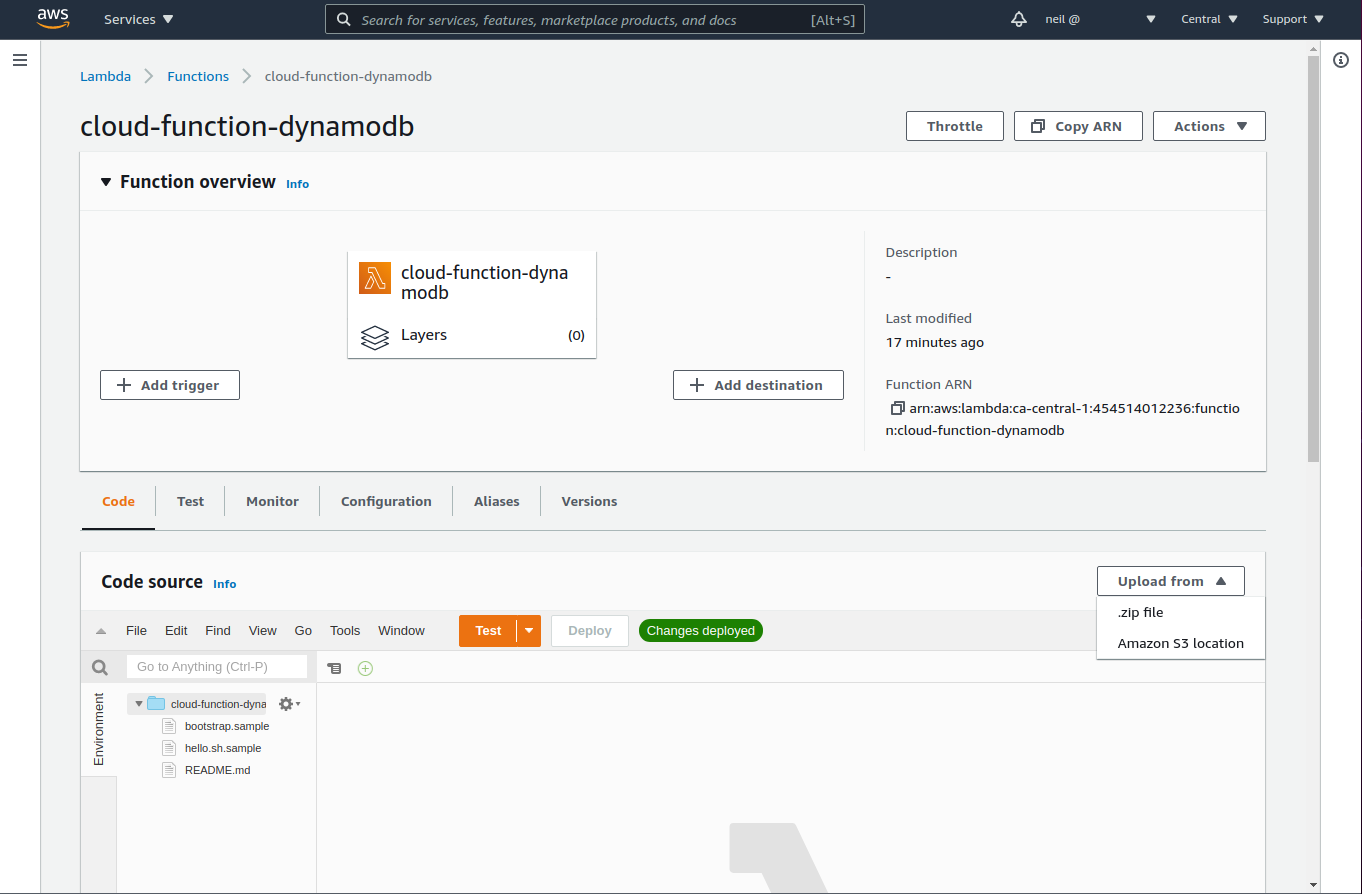
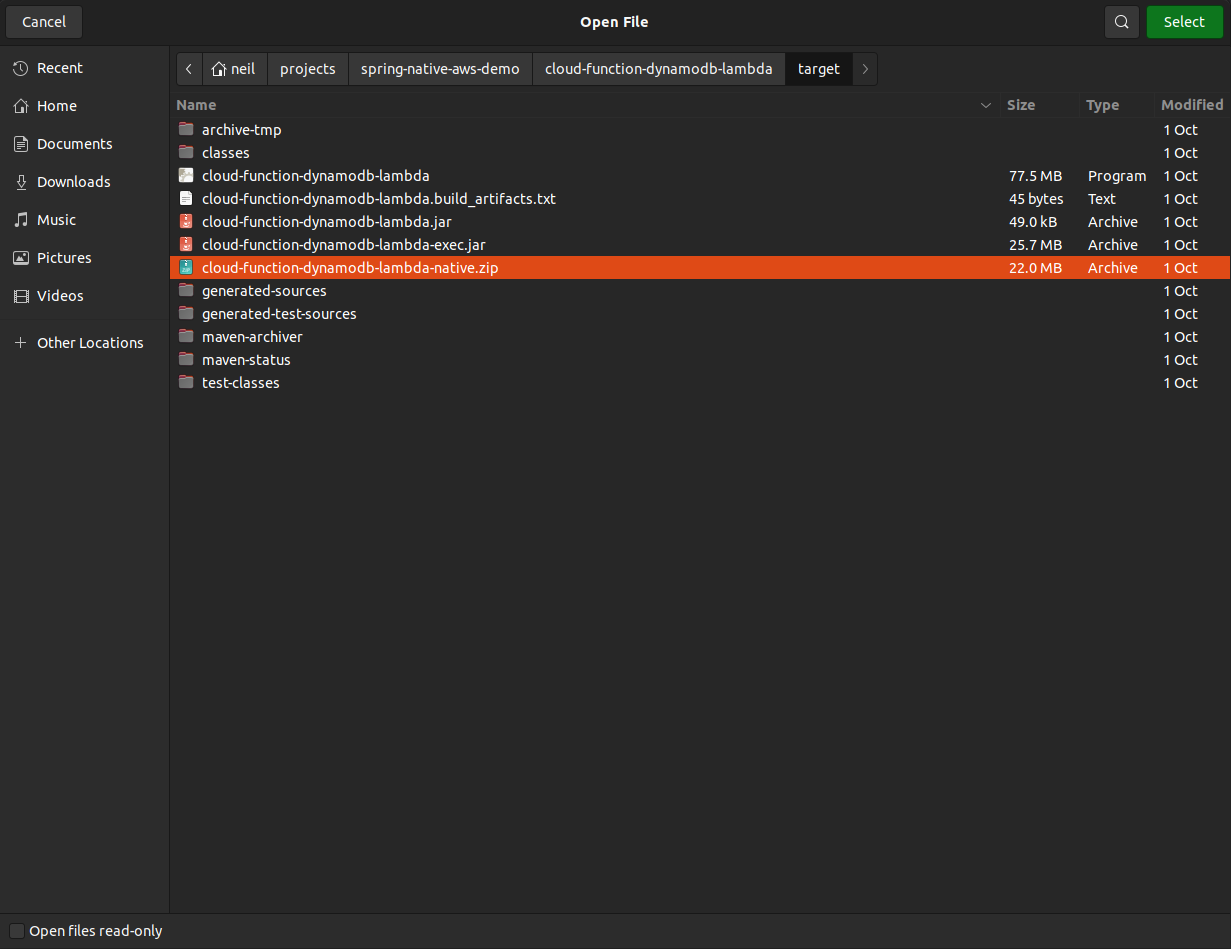
The Function has now been created, which means we can upload our code. Click '.zip file' from the 'Upload from' drop down and upload the .zip package in the /target directory of the project.
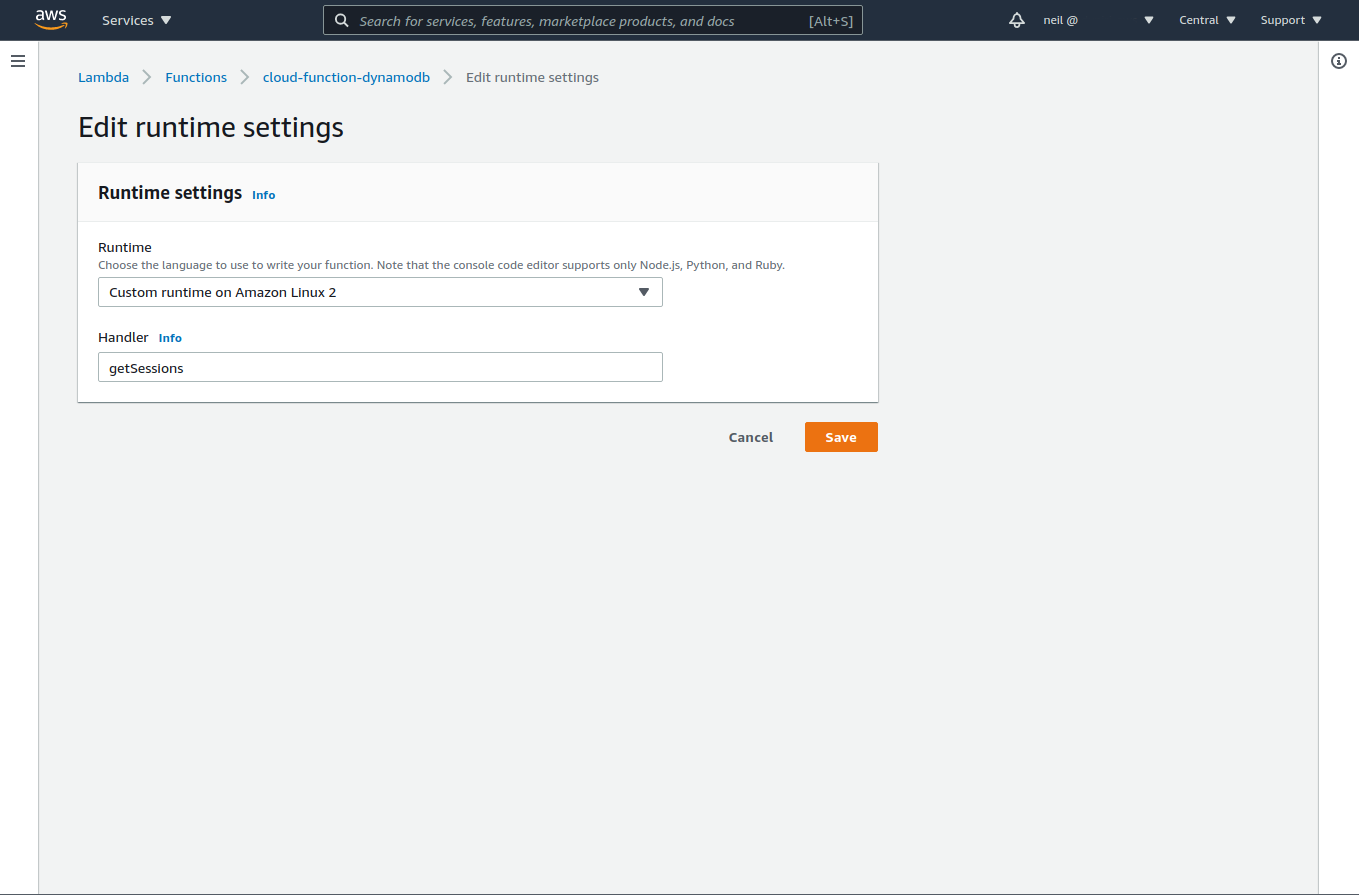
Once the file has been uploaded, we need to make one more change before testing. Edit the 'runtime settings' on the 'Code' tab, changing the handler to the name of our function, getSessions. This tells AWS which function to call when requests are sent to our Lambda.
The Result
Now that we have deployed and configured our Lambda Function, we can finally test it.

The first test is against a cold start of the Lambda, but it should still finish in less than a second. I already started my Lambda so my results reflect that.
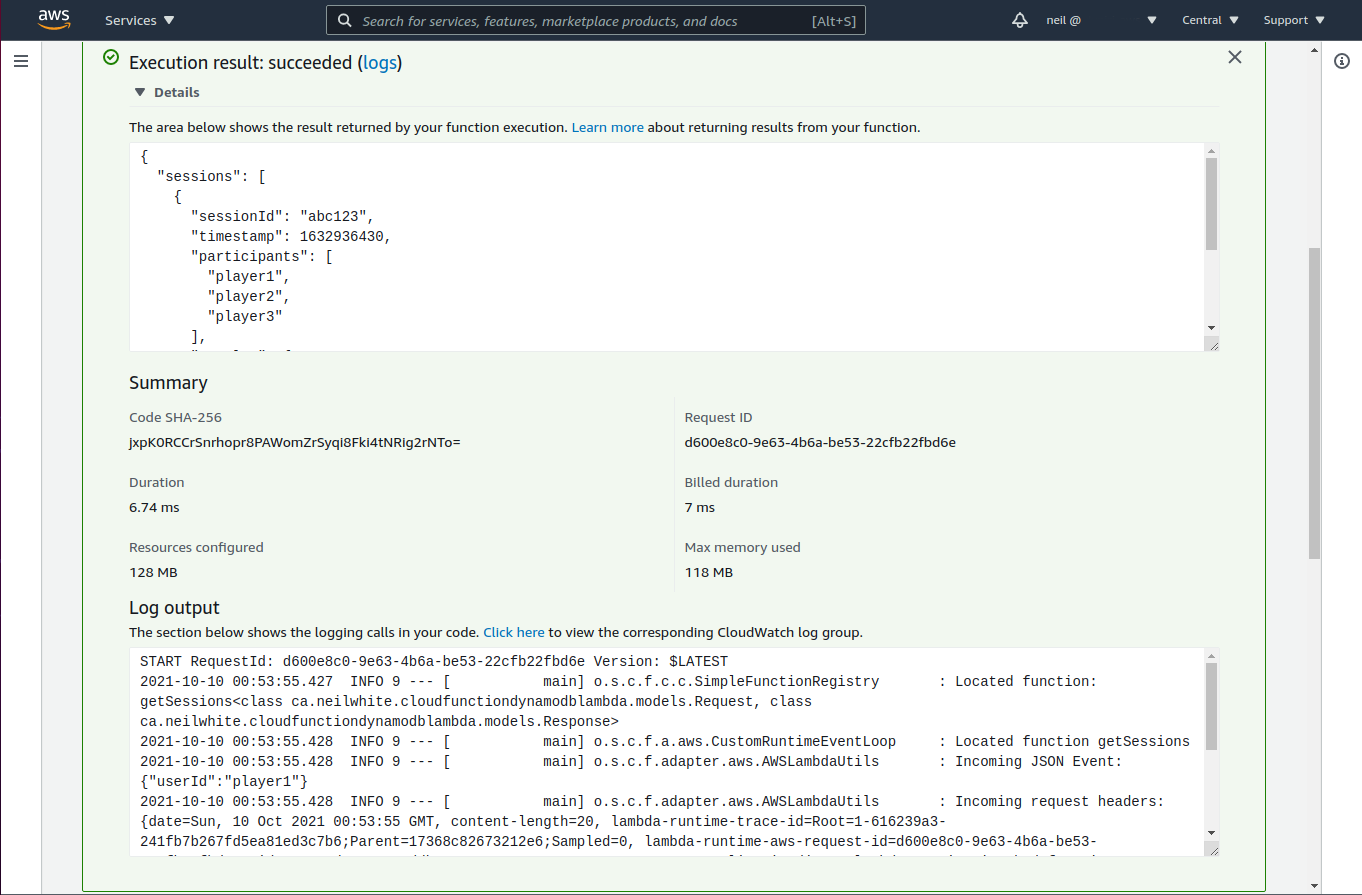
I created a non-native version of this function and ran a quick test to show the difference it makes.
| Version | Memory | Cold Start | Warm Start | Memory Used |
|---|---|---|---|---|
| Non-Native | 512 MB | 4258.94 ms | 40 - 80 ms | 204 MB |
| Native | 512 MB | 179.03 ms | 5 - 10 ms | 116 MB |
| Native | 128 MB | 722.57 ms | 5 - 10 ms | 116 MB |
On AWS, configuring Memory also influences CPU. This explains the faster cold start difference between the two native tests. The non-native version ran out of memory using 256 MB and crashed.
Conclussion
Through this series, I have shown the bare bones code required to get up and running with a Spring Cloud Function, throwing in DynamoDB for a real use case.
From writing code, to compilation and deployment, creating Functions-as-a-Service has never been easier with Spring Cloud Function and Spring Native.
Hopefully you have enjoyed and learned something from this series of posts. Feel free to leave a comment below.
Happy coding!
Full source code can be found on my Github